
Night teeth grinding can wreck your smile and your sleep. You may wake with jaw pain, loose teeth, or broken fillings. You might feel scared and confused. A night guard can protect your teeth while you sleep. Yet a store bought guard often feels bulky, rough, or useless. A dentist in Great Falls studies how your teeth meet, how your jaw moves, and where pressure hits hardest. Then you get a guard that matches your mouth, not a guess. This custom guard fits snug. It spreads out grinding force. It keeps teeth from chipping and wearing down. It also helps calm sore muscles in your face and neck. You gain quiet nights, less pain, and stronger teeth. This blog explains how your dentist shapes, adjusts, and checks your night guard so it works for you.
Why Night Guards Matter For Your Teeth
Teeth grinding and clenching are common. Many people do not know it happens until damage shows. You may notice:
- Flat or chipped teeth
- Headaches after sleep
- Jaw tightness or locking
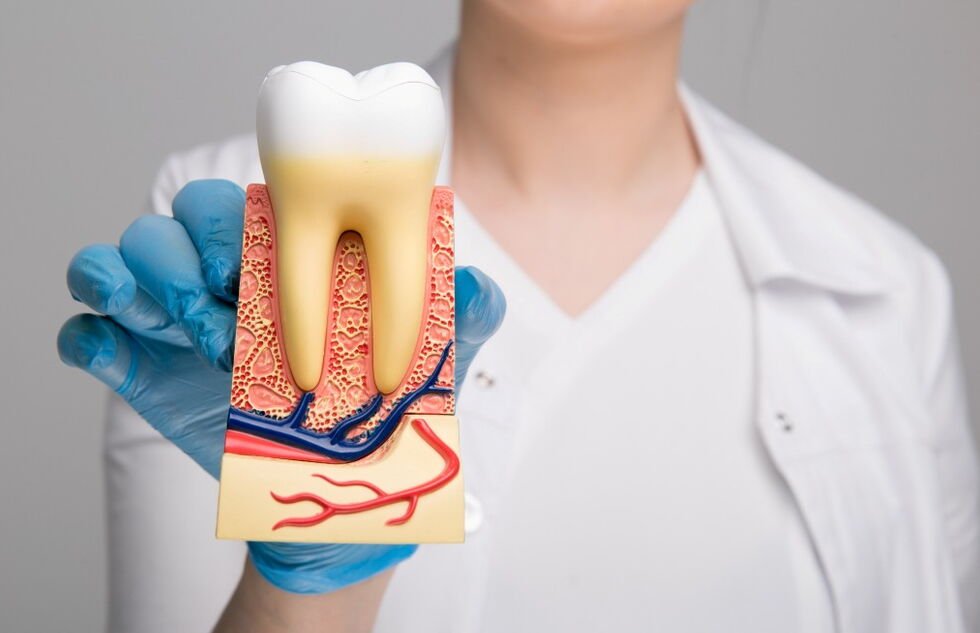
The grinding force can be strong. The National Institutes of Health shares that bite force during grinding can rise far above normal chewing force. That strain can wear down enamel and stress the joint that moves your jaw.
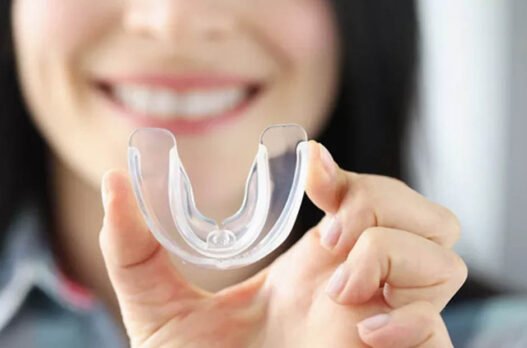
A night guard does one clear job. It creates a barrier between your upper and lower teeth. Yet the way that barrier fits and feels matters for real protection.
Store Bought Guard Versus Custom Guard
You may see “boil and bite” guards at a store. These can give short-term relief. Still, they often miss key needs. A custom guard comes from careful steps and real training.
| Feature | Store Bought Guard | Custom Guard From Dentist
|
| Fit | Generic shape | Made for your teeth only |
| Comfort during sleep | May feel bulky or loose | Slim shape and steady fit |
| Protection level | Uneven contact on teeth | Even contact across teeth |
| Jaw support | May strain jaw joint | Planned to reduce stress |
| Durability | Lower strength plastic | Dental grade material |
| Adjustments | No follow up shaping | Fine tuning at visits |
| Monitoring of tooth wear | None | Regular checks and records |
Step 1: Careful Exam And Questions
The process starts with a full exam. Your dentist checks your teeth, gums, and jaw joint. You talk about:
- Morning pain or tightness
- Stress levels and sleep habits
- Past dental work and broken teeth
Your dentist may ask if your partner hears grinding sounds. You may also share if you chew on pens or bite your nails. Each habit adds to the full picture.
Step 2: Impressions or Digital Scans
Next, your dentist records the shape of your teeth. This can use soft trays with putty. It can also use a small camera that scans each tooth.
These records show:
- Exact tooth size and shape
- Crowns, fillings, and gaps
- How upper and lower teeth line up
The lab then uses these records to form a model of your mouth. That model guides every part of the guard.
Step 3: Planning The Guard Design
Your dentist chooses the guard type that fits your needs. Three main choices guide the plan.
- Hard or soft material. Hard acrylic resists strong grinding. Soft material feels gentle but can wear faster.
- Upper or lower teeth. Some people do better with an upper guard. Others need a lower guard due to a gag reflex or bite pattern.
- Thickness. Thicker guards protect heavy grinders. Thinner guards feel easier to wear.
Your dentist aims for comfort, safety, and long-term use. The goal is a guard you can wear every night without dread.
Step 4: Lab Fabrication
The dental lab heats and shapes the guard material over the model of your teeth. Each tooth groove is marked. The edges follow your gum line for a snug fit.
The lab trims rough spots. Then the guard is polished so it feels smooth. The top surface is shaped to guide how your teeth meet during sleep. That shape helps spread pressure across many teeth instead of one or two.
Step 5: Fitting And Fine Tuning
At the fitting visit, you try the guard. Your dentist checks three key things.
- Retention. The guard should “snap” on and stay in place. It should not pinch or rock.
- Bite contact. You close gently. Your dentist marks where your teeth hit the guard. High spots are trimmed so pressure spreads evenly.
- Speech and breathing. You should talk and breathe without strain.
Your dentist may adjust the guard several times during that first visit. Each small trim can lower pain and protect the joint.
Step 6: Teaching You How To Use And Clean It
You receive clear steps for daily use.
- Wear the guard every night.
- Rinse it with cool water after waking.
- Brush it with a soft brush and mild soap.
- Store it in a vented case, not a tissue or pocket.
Your dentist will warn you not to use hot water. Heat can warp the plastic and ruin the fit.
Step 7: Regular Checkups And Adjustments
Night guards change over time. Your teeth may move slightly. You may start a new medicine or face new stress. Each change can affect grinding.
During checkups your dentist:
- Looks for new wear on teeth
- Checks the guard for cracks or flat spots
- Adjusts the bite if your jaw feels sore
If your teeth shift a lot or you complete major dental work, you may need a new guard. This protects your new fillings or crowns from early damage.
How A Custom Night Guard Protects Your Future Smile
A custom night guard does more than block grinding. It can:
- Lower the risk of broken teeth
- Shield past dental work
- Reduce jaw pain and morning headaches
You also gain peace of mind. You know that each night your teeth rest in a safer place. That calm can ease some of the fear that comes with ongoing pain.
If you wake with sore teeth or tight jaws, talk with your dentist. A custom night guard may be a small tool that stops big damage and keeps your smile strong for many years.