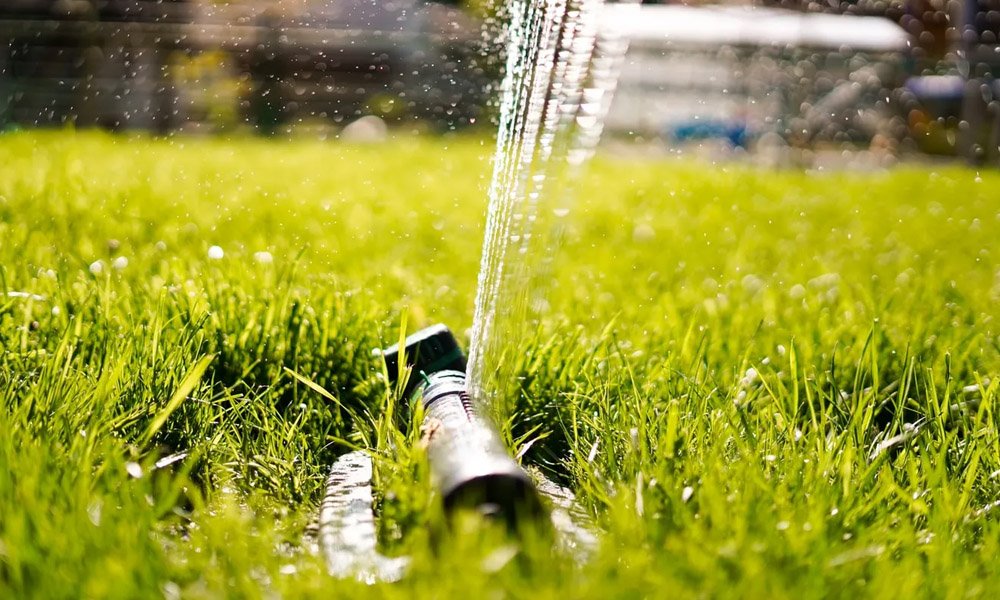
As a homeowner, a well-functioning sprinkler system is crucial for maintaining a lush, healthy lawn and garden. However, when electrical issues arise, it can lead to frustrating problems like patchy growth, water waste, and even damage to your system. In this comprehensive guide, we’ll explore the common signs of electrical problems in sprinkler systems and provide practical steps to help you diagnose and address these issues.
Basics of Sprinkler System Wiring
Your sprinkler system is powered by a network of wires that connect the controller, valves, and other components. These wires are responsible for transmitting the electrical signals that control the opening and closing of the valves, which in turn determine when and where water is distributed. Proper wiring is essential for ensuring your system operates efficiently and reliably.
Sprinkler experts agree that understanding the basic layout of your system’s wiring is the first step in identifying potential electrical problems. This includes knowing the location of the controller, the path of the wiring, and the connection points for the various components. By familiarizing yourself with this information, you’ll be better equipped to recognize when something isn’t working as it should.
Common Signs of Electrical Issues in Sprinkler Systems
One of the most obvious signs of an electrical problem in your sprinkler system is erratic or irregular operation. This can manifest as valves opening and closing at unexpected times, zones not activating as scheduled, or the entire system failing to function altogether. Additionally, you may notice that certain zones are receiving more or less water than others, or that the system is running for longer or shorter durations than it should.
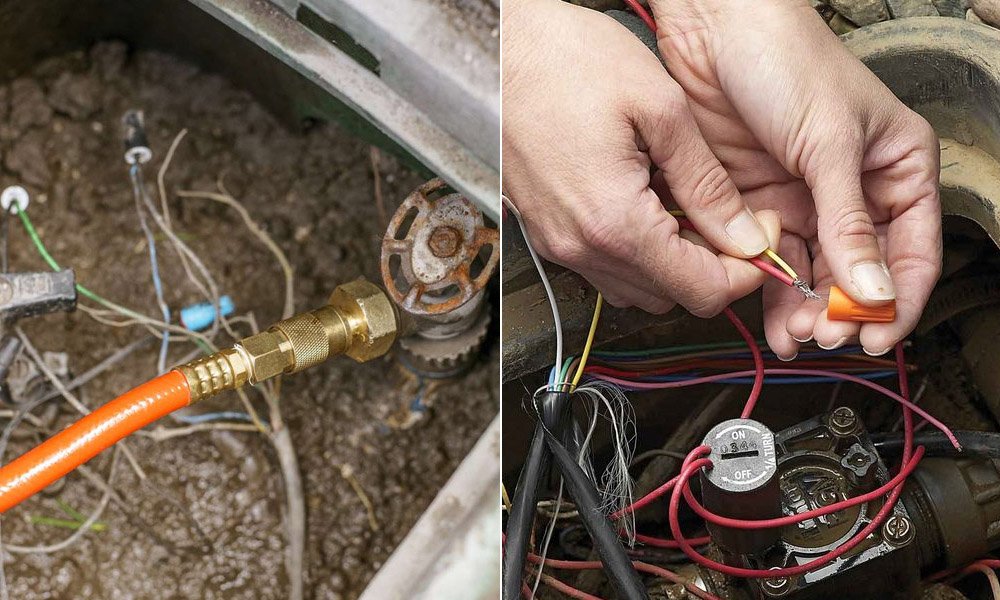
Another common indicator of electrical issues is the presence of burnt or damaged wiring. If you notice any exposed or frayed wires, or if the insulation appears melted or discolored, it’s a clear sign that there may be a problem with the electrical components of your system.
Conducting a Visual Inspection
Begin your investigation by conducting a thorough visual inspection of your sprinkler system’s wiring and components. Start at the controller, examining the connections and checking for any signs of wear or damage. Follow the wiring path, looking for any breaks, breaks, or signs of moisture intrusion.
Pay close attention to the valves, as these are critical points in the system where electrical issues can manifest. Look for any visible damage or corrosion, and ensure that the wiring connections are secure and intact.
Using a Multimeter to Diagnose Electrical Problems
Once you’ve completed the visual inspection, the next step is to use a multimeter to test the electrical integrity of your system. This tool allows you to measure the voltage and resistance of the wiring, which can help you identify the specific location and nature of any electrical problems.
Begin by testing the voltage at the controller, ensuring that it’s receiving the proper power supply. Then, move on to testing the individual valve wires, checking for any breaks or short circuits. This step-by-step approach will help you isolate the source of the problem and guide you towards the appropriate repair.
Troubleshooting Controller Malfunctions
The controller is the brain of your sprinkler system, and if it’s not functioning correctly, it can lead to a range of electrical issues. Start by checking the controller’s power source, ensuring that it’s receiving the correct voltage and that the connections are secure. If the controller appears to be malfunctioning, consult the manufacturer’s instructions for troubleshooting or consider replacing the unit if necessary.
Identifying Faulty Valves and Wires
Faulty valves and damaged wiring can also contribute to electrical problems in your sprinkler system. Use your multimeter to test the resistance of each valve, looking for any significant variations or open circuits. Similarly, test the wiring for continuity, identifying any breaks or short circuits that may be causing the issue.
Regular Maintenance and Inspections
Regular maintenance and inspections are crucial for preventing and addressing electrical problems in your sprinkler system. Make it a habit to visually inspect your system’s wiring and components at least once a year, and consider hiring a professional to perform a more thorough evaluation every few years.
By staying proactive and addressing any issues as they arise, you can ensure your sprinkler system continues to function reliably and efficiently, keeping your lawn and garden lush and healthy.
In summary, the key things to remember when addressing electrical problems in your sprinkler system are:
- Understand the basics of your system’s wiring layout
- Look for common signs of electrical issues, such as irregular operation and damaged wiring
- Conduct a thorough visual inspection of your system’s components
- Use a multimeter to diagnose specific electrical problems
- Troubleshoot controller malfunctions and identify faulty valves and wires
- Prioritize regular maintenance and inspections to prevent and address electrical issues
By following these steps, you’ll be well on your way to keeping your sprinkler system in top-notch condition and ensuring a beautiful, thriving outdoor space for long time.