Many households underuse their basements. Basements, whether utilised for storage or DIY crafts, may get cluttered and damp. This article will help you waterproof, declutter, and use trash pickup to keep your basement organised, useful, and dry. Use these simple but effective tips to make your basement more usable and attractive.ics.
1. Why Basement Waterproofing Matters
Water damage in basements can lead to mold growth, structural issues, and unpleasant odors. A damp basement can also cause a multitude of problems for DIYers who wish to use the space for projects. Waterproofing your basement is a crucial step to protect your home’s foundation and keep it dry. Here’s why basement waterproofing is essential:
| Benefit | Explanation |
|---|---|
| Prevents mold growth | Mold thrives in moist environments, compromising health. |
| Preserves foundation | Moisture can erode the foundation, leading to costly repairs. |
| Keeps air fresh | Waterproofing helps eliminate musty odors and dampness. |

2. Common Signs of a Damp Basement
Before embarking on any DIY waterproofing project, it’s important to identify the signs of moisture damage. Here’s what you should look for:
- Mold infestation: Visible mold or mildew on walls or ceilings.
- Musty odors: A persistent damp smell.
- Cracks in walls: Structural issues in your basement walls or floors.
- Standing water: Visible water pools or wet spots in the basement.
If any of these signs are present, it’s time to take action.
3. DIY Basement Waterproofing Methods
Once you’ve identified moisture problems, you can employ several DIY waterproofing methods to protect your basement. Here are some effective solutions:
3.1 Cleaning the Basement
The first step in waterproofing is cleaning. A clean surface ensures better adhesion for sealants and coatings.
Steps:
- Mix water with dish soap and scrub walls with a long-handled brush.
- Use oxygen bleach instead of chlorine bleach to prevent mold spores from spreading.
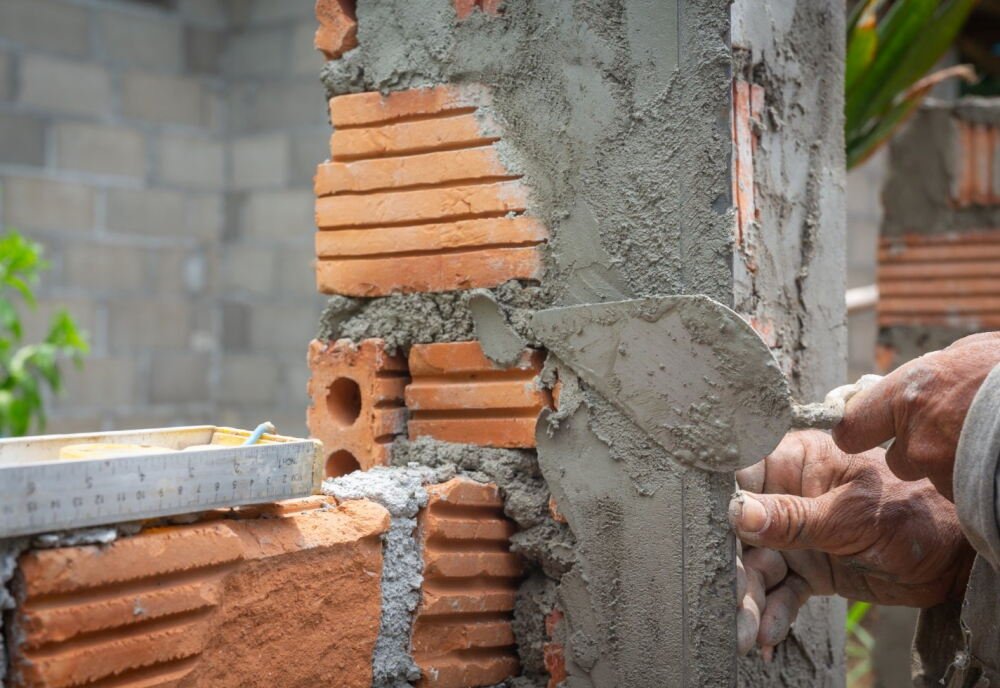
3.2 Repair Cracks and Holes
Cracks in walls and floors provide entry points for moisture. Repairing these can significantly reduce water infiltration.
Steps:
- Use a chisel to clean out cracks.
- Fill with concrete filler, allow to dry, then apply sealant.
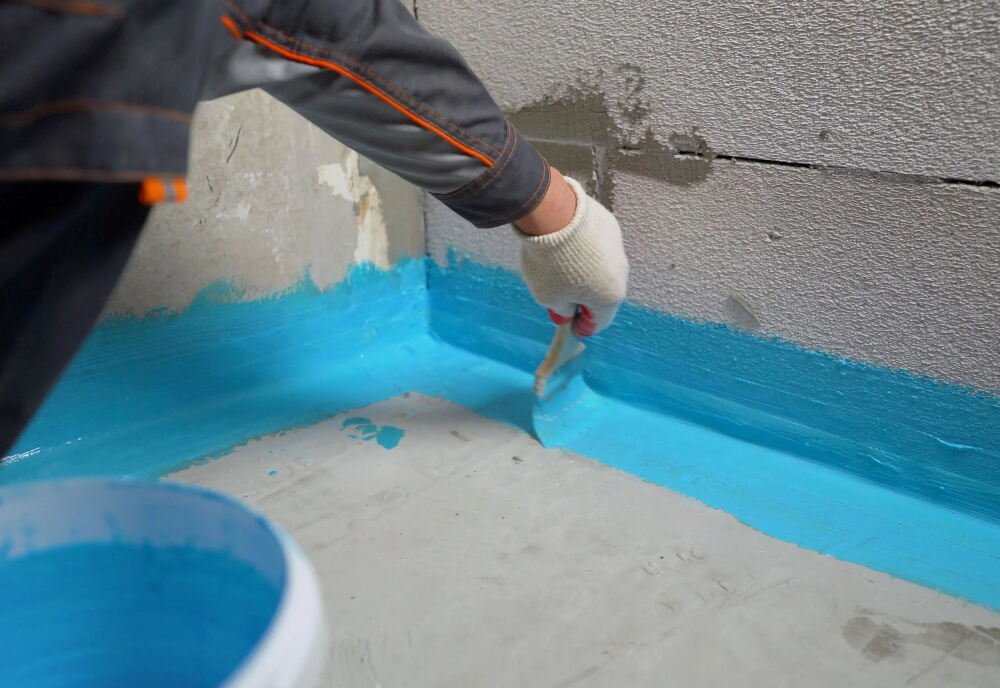
3.3 Sealant Application
Water-based or polyurethane sealants form a protective barrier against moisture. These sealants prevent water from seeping through cracks and crevices.
| Sealant Type | Best Use | Drying Time |
|---|---|---|
| Water-based sealants | Small leaks and cracks | Short |
| Polyurethane sealants | High-pressure areas and large cracks | Longer |
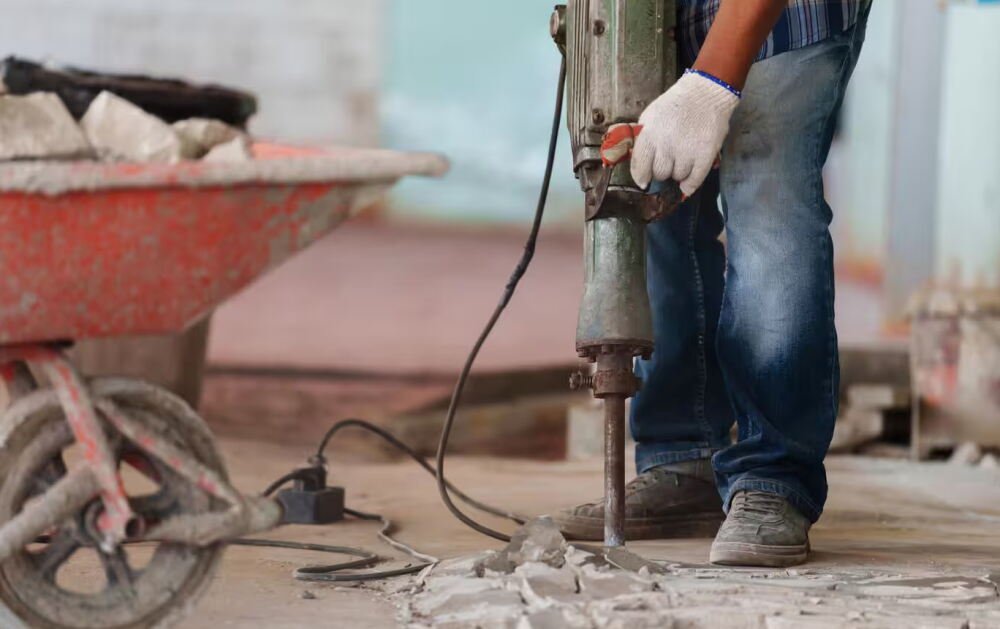
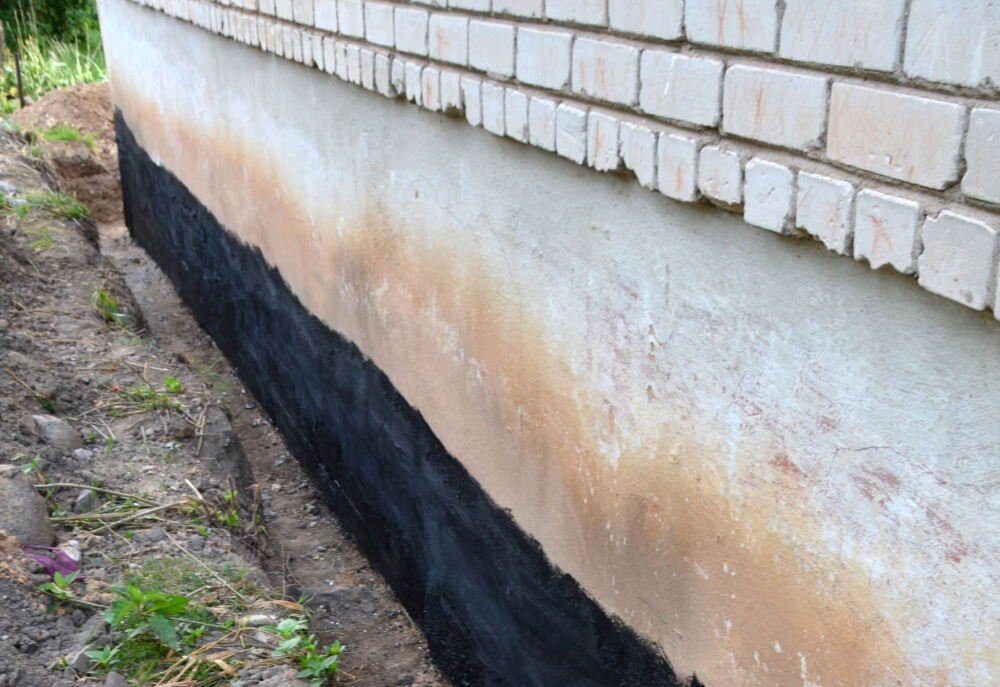
3.4 Consider Exterior Waterproofing
If the interior methods aren’t sufficient, exterior waterproofing might be necessary. This involves excavating around the foundation to apply coatings that prevent water from entering your basement. It’s a more intensive process that may require professional help.
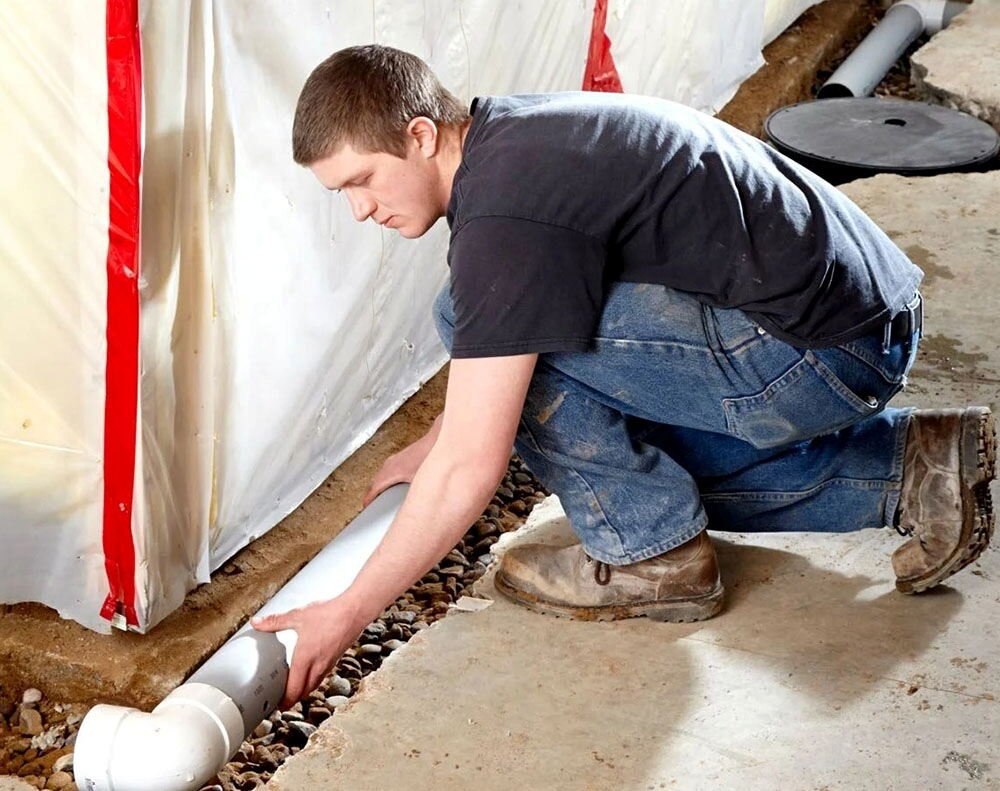
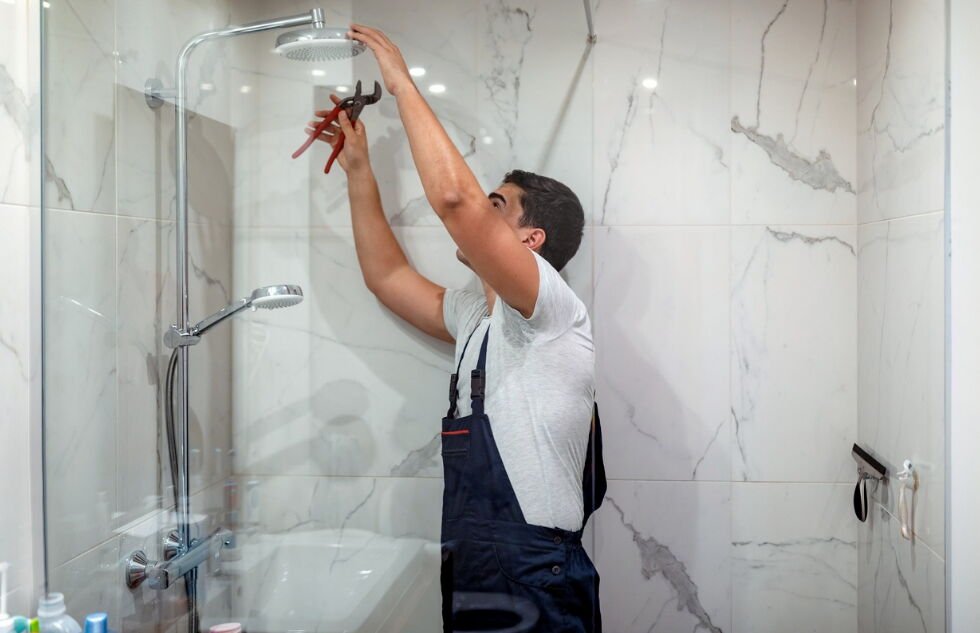
3.5 Install a Sump Pump
A sump pump is a long-term solution to direct water away from your home’s foundation. It’s relatively easy to install for those with DIY skills, and it helps in reducing water buildup.
| Sump Pump Feature | Benefits |
|---|---|
| Airtight lid | Prevents odors and pests |
| High-efficiency motor | Ensures reliable operation |
| Proper fit in sump pit | Reduces wear and tear |
4. Decluttering Your Basement
Now that your basement is waterproofed, it’s time to tackle the clutter. A well-organized basement enhances the space’s functionality and aesthetics, especially if you plan to use it as a crafting or storage area.

4.1 Sort and Categorize Items
The key to successful decluttering is a methodical approach. Start by sorting items into categories:
- Keep: Items you use or need for future projects.
- Donate: Items in good condition but no longer needed.
- Resale: Items with monetary value.
- Trash: Broken, useless items.
4.2 Storage Solutions
Utilize shelves, cabinets, and storage bins to maximize space. Transparent bins allow easy visibility of contents, and stackable bins help in optimizing vertical space.
Storage Tips:
- Use storage ottomans or benches with hidden compartments for extra space.
- Label containers for quick identification.
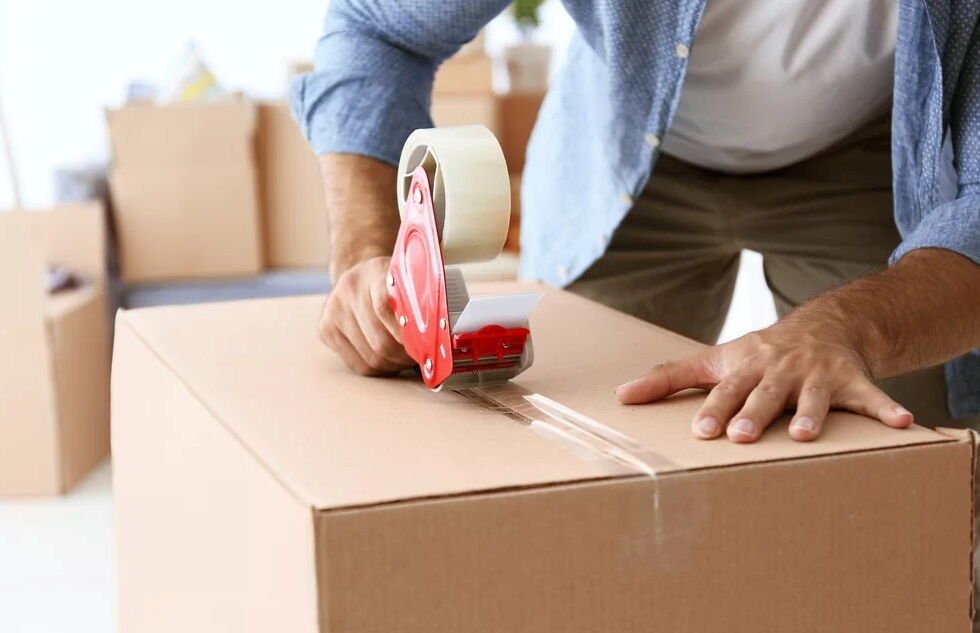
5. How Trash Pickup Services Help
Maintaining a clutter-free basement can be challenging, especially if you accumulate excess items over time. That’s where trash pickup services come in handy. Here’s how to use them effectively:
| Service Type | Features |
|---|---|
| Scheduled trash removal | Regular pickup services for large waste |
| Hazardous waste removal | Disposal of unsafe or toxic materials |
| Recycling services | Ensures eco-friendly disposal of recyclables |
Segregating Waste
Organize your waste before disposal by separating recyclables, donations, and trash. This practice makes the process smoother for both you and the trash pickup service.

Familiarize Yourself with Local Regulations
Understanding local waste disposal rules is essential for effective trash management. Some areas may have specific guidelines for recycling or hazardous waste disposal.
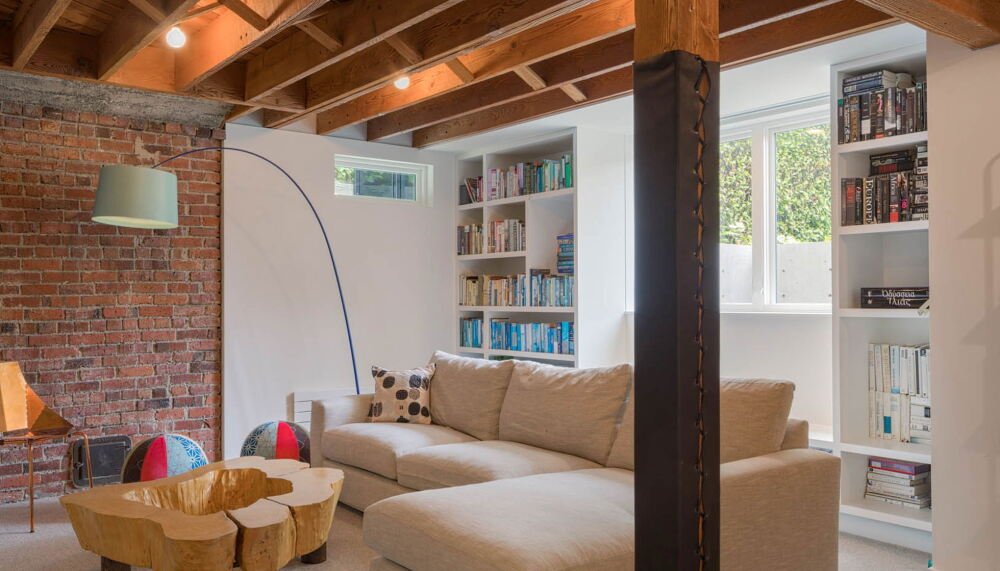
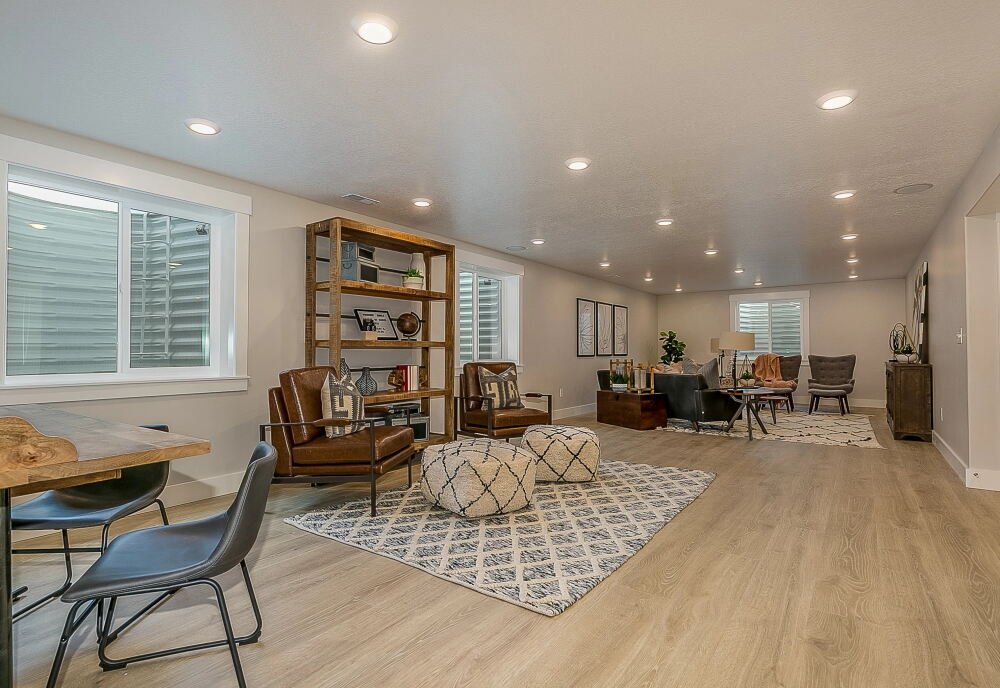
6. Designing Your Basement as a Crafting Space
A decluttered, waterproofed basement offers the perfect environment for DIY projects. Here are a few ideas to design your basement into an efficient crafting space:
- Create designated zones for different materials like fabric, wood, or paint.
- Invest in comfortable, durable workbenches and chairs.
- Install task lighting to illuminate workspaces.

7. Maintaining Your Basement’s Cleanliness
Once your basement is organized and functional, the next step is to keep it clean. Regular cleaning routines and periodic decluttering will help maintain the space.
Regular Cleanups
Commit to cleaning your basement once a month. Check for dust, spills, and any signs of moisture. A dry basement is much easier to maintain than a damp one.
8. Smart Purchasing Habits
To avoid clutter from accumulating again, adopt mindful purchasing habits. Think carefully before acquiring new items and avoid accumulating materials that are not essential for your projects.
9. The Benefits of a Dry, Organized Basement
A well-maintained basement doesn’t just look better; it’s more functional and healthier. Here’s why you should invest in waterproofing and decluttering your basement:
- Increased usable space: An organized, clean basement is a valuable extension of your home.
- Improved health: Moisture control prevents mold, which can trigger respiratory issues.
- Higher home value: A finished, dry basement adds to the overall value of your property.
-
Frequently Asked Questions
What are the signs of a damp basement?
Look for mold, musty smells, cracks, condensation, and standing water.
How can I waterproof my basement?
Clean walls, repair cracks, apply sealants, and install a sump pump.
Do I need professional help for exterior waterproofing?
Yes, exterior waterproofing requires excavation and expertise.
What is the best way to declutter my basement?
Sort items into “keep,” “donate,” “resale,” and “trash.” Use labeled containers for storage.
How can trash pickup services help?
They provide scheduled removal, recycling, and disposal of hazardous waste.